“Hi, I don’t usually do this, but…”
YES, THIS IS NOT A TRANSFORMER. Let’s call it a cheat day. But I will, however, vehemently express my love for the one video game series that I have logged more hours on, more than any other game and almost more than any other hobby – besides, of course, collecting / obsessing over Transformers.
It’s a model kit by Kotobukiya from the game Armored Core by From Software. (Any fans??? Leave me a comment and your fave build!) I’ve been playing AC since I got it bundled with the very first Playstation in 1997 and have played nearly every iteration of the series’ 14 main titles all the way until AC: For Answer in 2008. (But I’ve got the last two, V and Verdict Day, coming in the mail, hehe.)

I actually started assembling this guy back in 2005 when it was first released, then left it at my parents’ house, and made a little progress during each visit. I finally finished it during Xmas 2019, right before the pandemic began. So, the project took me only around 15 years. Good thing this isn’t my job! But fun fact / namedrop: I actually had a part-time gig in high school assembling and painting display figures for one of the first distributors of Japanese model kits to the US, a company called Inteleg International (Hey, Take-san!). We had Gundam, Patlabor, Guyver, and all the classics. That’s where I cut my teeth on painting kits and also by painting Warhammer figs for sale at the local hobby shops and comicons. Ah, the good old days.

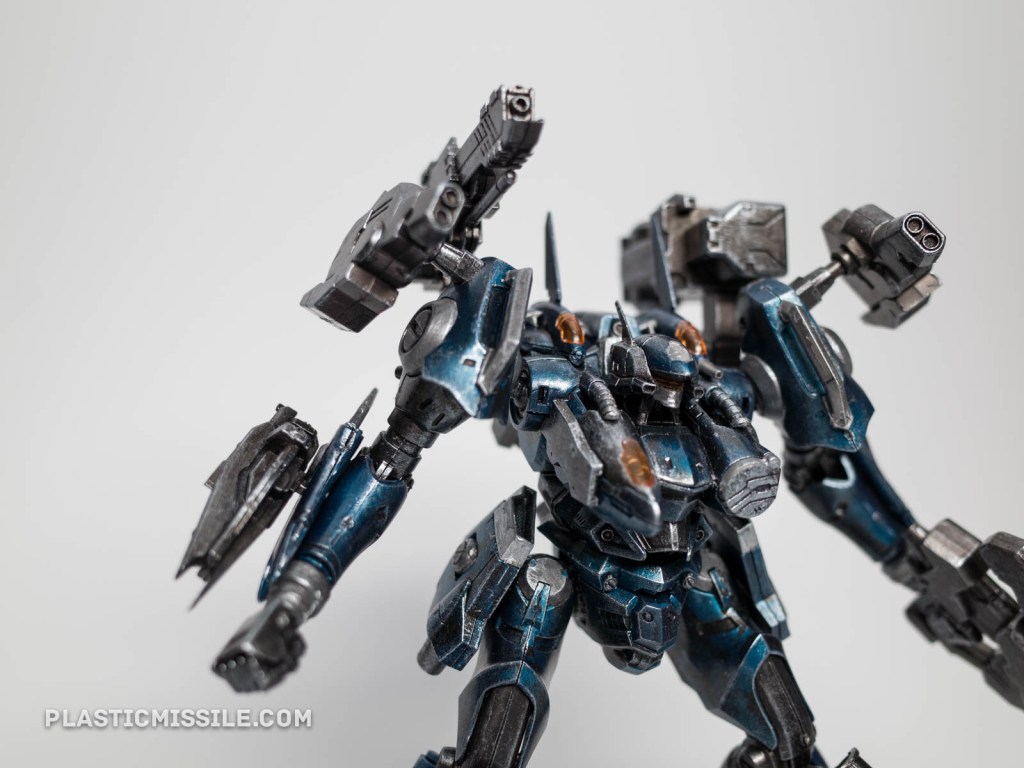
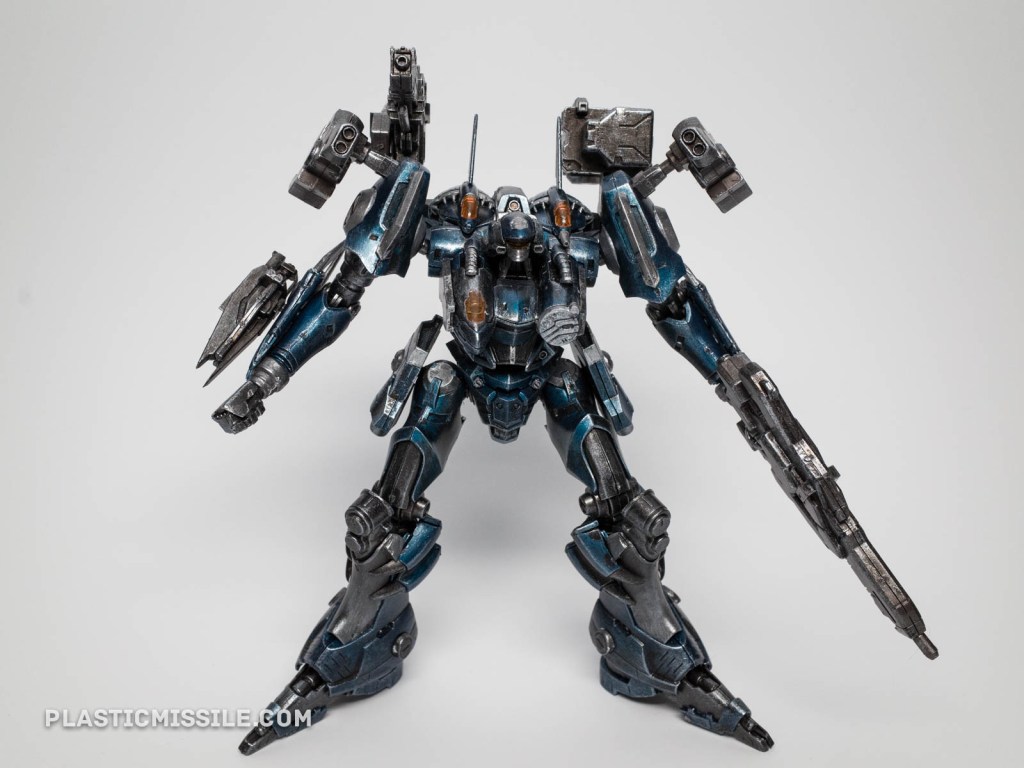
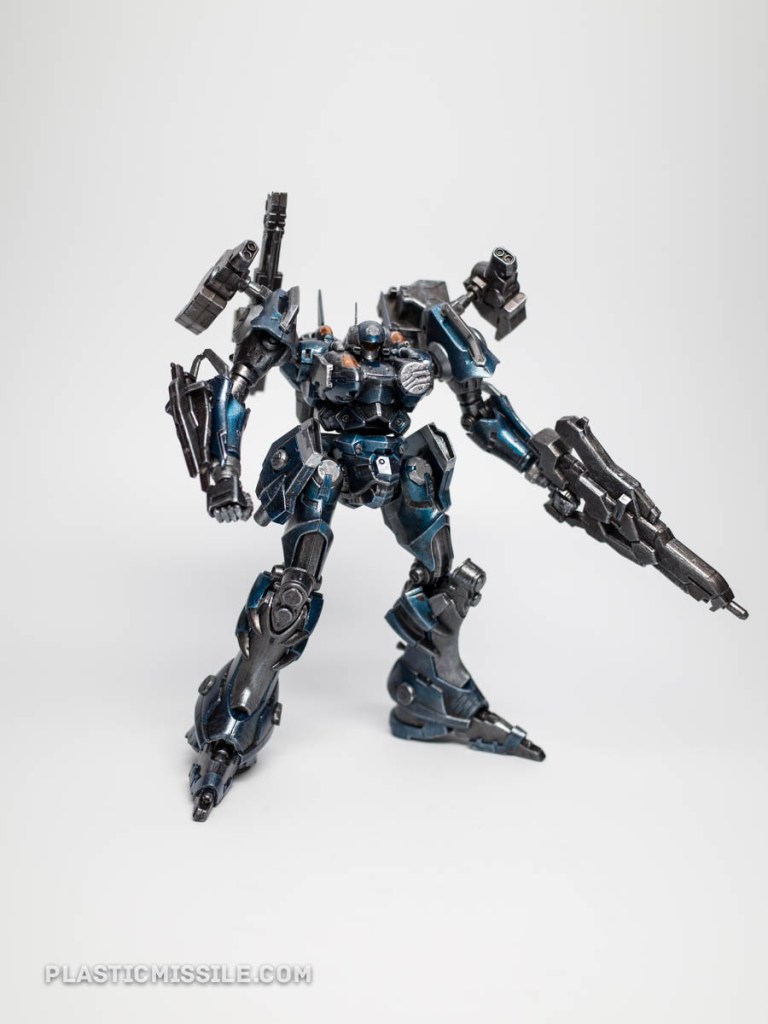
The C01-GAEA kit is an exact replica of the Armored Core: NEXUS Oracle build, operated by the pilot Evangel. It made one more appearance in The Last Raven game, but with a different build. It’s honestly not one of my favorite AC builds, but some of the parts are some of my faves from the game, like the head – Queen, the arms – Macaque, and of course (if you play AC), the ultimate sword – Moonlight, which is the real reason I got this kit in particular. The details of this build are on the Armored Core Wiki with the full list of parts.


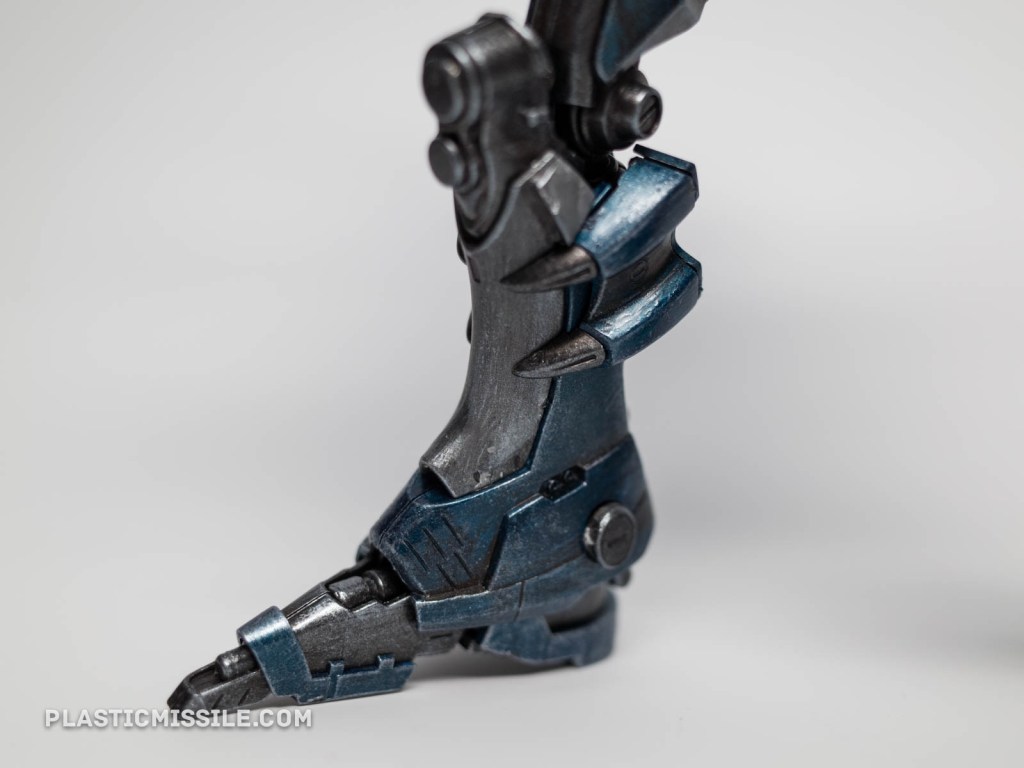
Dry-brushing technique is super easy with gunmetal colors, at least with my lazy way of doing it. For the teal body parts, the process was a bit more complicated. I actually started with a primer coat (Tamiya X-21 flat base), then a metallic teal (Tamiya X-13 metallic blue), some silver mixed in with the teal for highlights, and then final drybrushing with a silver and gunmetal (Tamiya X-10 gunmetal) to get that weathered, beat-up patina. I’ve tried learning airbrushing for a more even and professional-looking job, but I honestly don’t have the time and money (or patience) to go that far into the model kit rabbithole at this point in my life. Plus, my eyes are getting worse as I get older, so even finishing this kit was an ordeal. *bitch&moan.
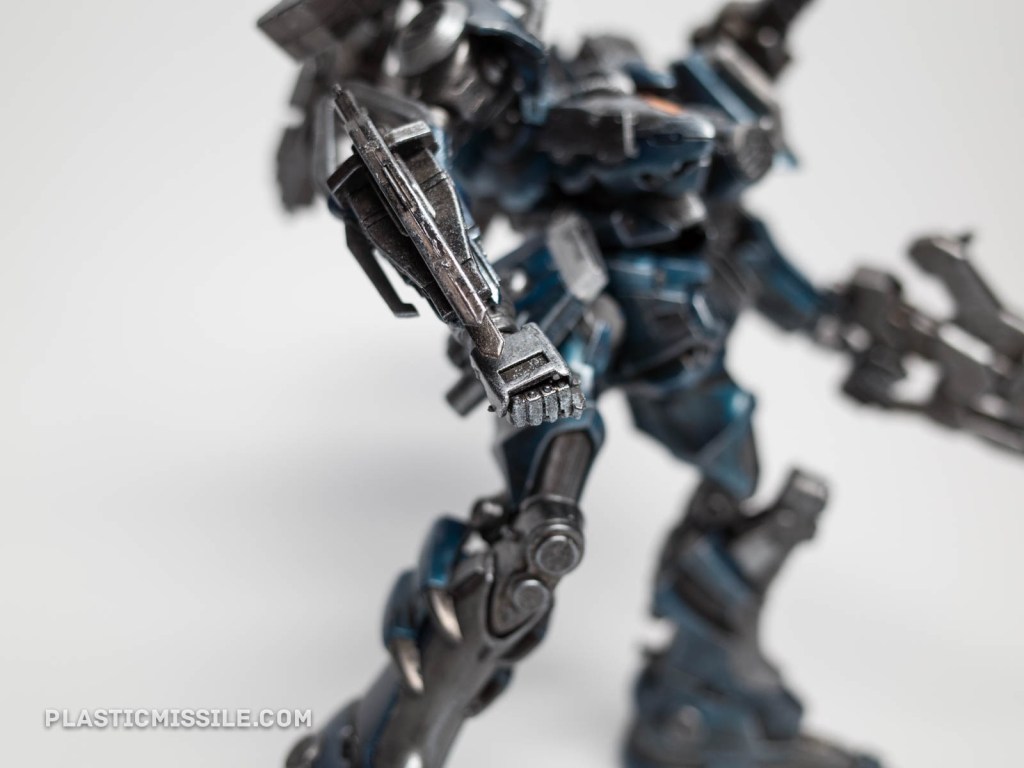

Some of the parts are made of a softer, vinyl-like plastic, probably polyurethane-based, the kind that is typically used for things like joints and ball sockets, which doesn’t take to being painted. My only gripe about this kit is they annoyingly used this in some areas that require paint, like the face plate and wrists, so I couldn’t get an even coat on those areas, which thankfully is hard to see after some “photo magic”.


As with all kitbuilding, I’ve had to make some design decisions and accommodations along the way, that come with some minor regrets and key learnings. It’s a time consuming, eye-squinting, arduous craft that pays off if you stick with it to the end. But like most things, I think it’s the journey and not the destination that counts. You can always buy a factory painted toy that looks just as cool. But this project was one for the books, a passion project that I could only fit in during downtime (like my Blackstreak custom). Like with many of my other professional and personal projects, I could have just obsessively hammered away on it and finished it in a two-day session, but I’m glad I chose to only work on this is small increments, making the most use of the little time I had and thinking long term. It also gave me more reason to visit my parents and further fuel my nostalgic rush whenever I pick up an old hobby from my younger years. Looking forward to my next kit.
